Buying a used car without learning how to check a used car’s history first is one of the fastest ways to lose thousands of dollars on a vehicle that looks flawless in the driveway and falls apart three months later. Every year, hundreds of thousands of used cars change hands in the U.S. with hidden accident damage, flood exposure, rolled-back odometers, or salvage titles that sellers never mention — and buyers never think to ask about until it’s too late.
The good news: learning how to check a used car’s history before you buy isn’t complicated, and it doesn’t require any special access or industry connections. It takes roughly 30 minutes, costs less than a tank of gas, and follows a repeatable process. This guide walks through every method that actually works in 2026 — free government lookups, paid vehicle history reports, hands-on physical inspection, and how to pull real service records directly from a dealership. By the end, you’ll know exactly which checks matter for your situation, which ones are optional, and what to do with whatever you find.
Why You Can’t Skip a Vehicle History Check
A clean-looking used car can still be carrying serious problems that never show up from the driver’s seat. Odometers get rolled back electronically in minutes. Flood-damaged cars get dried out, detailed, and quietly resold hundreds of miles from where the flooding happened. Salvage titles get “washed” clean by re-registering a vehicle in a state with looser disclosure requirements, erasing the brand from the paperwork a buyer sees.
None of that shows up on a fifteen-minute test drive around the block. It shows up in the paperwork and the details — which is exactly why knowing how to check a used car’s history is the single highest-leverage thing you can do before signing anything or handing over a deposit.
Consider the math: a full vehicle history report costs $25 to $45. A hidden frame-damage repair, a flooded electrical system, or an odometer rollback that inflates the resale value by $4,000 can cost you far more than that — sometimes the entire value of the car. The report is cheap. Being wrong isn’t.
Method 1: Free NMVTIS Lookups
The National Motor Vehicle Title Information System (NMVTIS) is the U.S. Department of Justice’s official vehicle history database, and it’s the foundational source that every paid report — Carfax, AutoCheck, Bumper — ultimately pulls at least part of its data from. If you’re only going to check a used car’s history through one source, this is the one to start with.
What NMVTIS Shows You
- Title brand status — clean, salvage, junk, flood, rebuilt, or non-repairable
- Odometer reading recorded at the most recent title transfer
- Total-loss and insurance claim flags reported by participating insurance companies
- Cross-state brand history, which is exactly what catches title washing — a car branded “salvage” in Louisiana that resurfaces as “clean” in a state that doesn’t share that data
What NMVTIS Doesn’t Show You
- Accident history that was never reported to an insurer
- Full maintenance and service records
- Open recall status (that’s a separate free lookup, covered below)
- Photos or physical damage documentation
- Ownership history details beyond the title brand trail
How to Run an NMVTIS Check
- Go to a state-approved NMVTIS data provider. NMVTIS itself doesn’t run consumer-facing lookups directly — it licenses the data to approved third-party providers, several of which are linked from the official government portal.
- Enter the full 17-character VIN exactly as it appears on the title, registration, or the VIN plate on the driver’s-side dashboard.
- Pay the processing fee, typically $2 to $5. NMVTIS access itself is free by law; the small fee covers the provider’s processing.
- Read the title brand history section first — this is where rollback flags and salvage brands surface, and it’s the part most buyers skip past to get to the ownership summary.
NMVTIS is the right place to start precisely because it’s the source of truth that other reports build on. But it’s a records check, not an inspection. It won’t catch an accident that never generated an insurance claim, and it won’t tell you the car smells like a swamp.
Method 2: Paid Vehicle History Reports
Once an NMVTIS check clears the baseline, a full paid report fills in the gaps NMVTIS leaves open: detailed accident timelines, ownership duration, dealer-reported service records, and lemon-law buyback flags.
The three most commonly used providers are Carfax, AutoCheck, and Bumper, and — this catches a lot of buyers off guard — they don’t all draw from identical data sources. That means the same VIN run through two different services can return two different pictures of the same car’s condition. We ran the same set of VINs through Carfax and AutoCheck side by side and documented exactly what each one caught and missed; [see our full Carfax vs. AutoCheck comparison] for the breakdown.
If budget is a factor, you don’t have to pay full price for a name-brand report to get useful information. [Our guide to Carfax alternatives under $15] covers the cheaper options that still catch the major red flags, and [our $1 Bumper report test] answers the specific question of whether the cheapest option on the market is worth trusting.
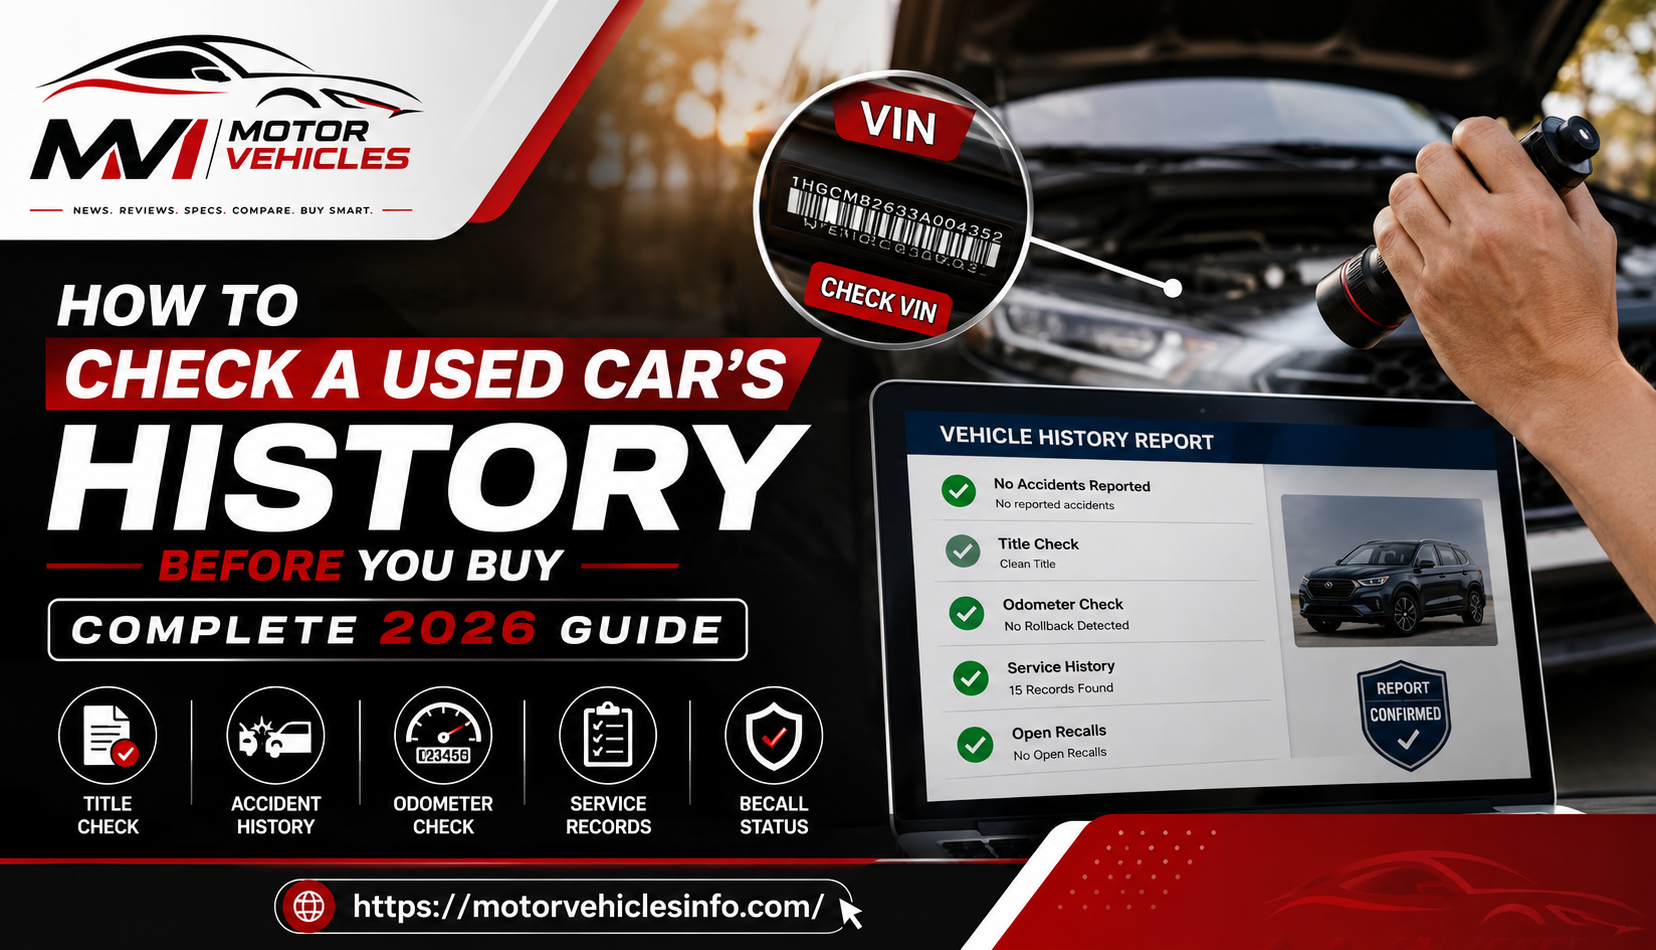
What a Good Report Should Include
- Full accident and structural damage history, where reported
- Number of previous owners and how long each held title
- Dealer and shop-reported service records
- Open manufacturer recalls
- Odometer readings logged at every title transfer — your primary rollback check
- Registered use history (personal, fleet, rental, rideshare)
One important caveat before you trust a report completely: a report only shows what was reported to it. A car with a spotless-looking history isn’t automatically a spotless car. [Learn exactly what “No Accidents Reported” really means] before you treat a clean report as a guarantee rather than a strong signal.
Free vs. Paid: Do You Need to Spend the Money?
It’s a fair question, and the honest answer is “it depends on what the free check already told you.” A free NMVTIS lookup that comes back completely clean — no title brands, consistent odometer readings, no total-loss flags — lowers your risk significantly on its own. [Our full free VIN check vs. paid report comparison] walks through exactly which scenarios call for spending the extra $25–$45 and which ones don’t.
Method 3: Physical Inspection
No history report, free or paid, replaces looking at the car yourself. This is where you catch what the paperwork misses entirely, and it takes about 20 minutes with nothing more than your eyes, your nose, and a flashlight.
The Fast Checks
- Panel gaps and paint depth. Uneven gaps between body panels, or a paint color that’s subtly off between adjacent panels, is one of the most reliable visual signs of prior bodywork. [See our full 6-point accident check] for exactly where to look and what “off” actually looks like in practice.
- Trunk, spare-tire well, and glovebox for water lines. A musty smell, rust in spots that shouldn’t rust, or a faint waterline stain is the fastest way to catch flood damage before you’re standing in a dealership finance office. [Our flood-damage photo guide] walks through every telltale sign with real examples.
- Tire wear pattern. Uneven wear concentrated on one side of the front axle can point to frame damage or a prior alignment-altering accident that never made it into an insurance claim.
- Mileage versus visible wear. Worn pedal rubber, a shiny or cracked steering wheel, and a sagging driver’s seat bolster on a car claiming unusually low mileage is a classic rollback signal worth investigating with a proper odometer check.
- Undercarriage inspection. Fresh undercoating in patches, rather than an even factory-applied coat, can be an attempt to hide frame welds or corrosion.
If you’re buying from a private seller rather than a dealership, the stakes for self-inspection go up because there’s no dealer license or buyer-protection framework behind the transaction. [Our 20-point private seller checklist] covers the complete walk-around, plus exactly which documents to request on the spot before any money changes hands.
Method 4: Dealer and Service Records
If a car was serviced at a dealership, an independent chain shop, or through a manufacturer’s maintenance program, there’s a paper trail that exists independently of any VIN-based report — and it’s often more detailed.
- Ask the seller directly for maintenance receipts. A seller with nothing to hide usually has at least a folder or a digital record of oil changes, inspections, and repairs. Hesitation here is itself a signal.
- Call the shop or dealership listed on any service sticker and ask whether they can confirm service history by VIN over the phone. Many will, especially for basic maintenance intervals.
- Check state inspection records where your state maintains them. Many states log the odometer reading at every annual safety or emissions inspection, which creates an independent mileage timeline — one of the most reliable ways to catch an odometer rollback before you buy, separate from anything a commercial report shows you.
- Confirm there’s no active lien on the title. If a lien shows up anywhere in the paperwork, don’t proceed until it’s resolved. [Learn exactly how to check for a lien on a car] before you commit to a purchase, because an unresolved lien can follow the vehicle, not just the previous owner.
Decoding the VIN Itself
Every 17-character Vehicle Identification Number encodes the manufacturer, assembly plant, model year, body style, and a unique serial number — and knowing how to read it helps you catch one of the more serious red flags: a VIN plate that doesn’t match the paperwork, which is a classic sign of a stolen or improperly re-titled vehicle. [Our full VIN decode guide] breaks down what each of the 17 characters actually means, position by position, so you can spot a mismatch yourself in seconds rather than relying entirely on a report to catch it.
9 Red Flags to Rule Out Before You Buy
Run through this checklist before you hand over a deposit on any used vehicle. Each item links out to a full, dedicated breakdown if you want the complete details on that specific risk.
- Accident history — 6 checks to tell if a car’s been in an accident
- Flood damage — photo guide + VIN red flags to check
- Salvage title — when it’s a legitimate bargain and when it’s a trap
- Odometer rollback — how to detect it in 2026
- Branded titles — every branded title type explained: rebuilt, lemon, junk, flood
- Outstanding liens — how to check for a lien before you pay
- Open recalls — free VIN recall lookup in 60 seconds
- Stolen vehicle status — checking a VIN against theft databases
- Title washing — how sellers hide history across state lines
Skipping any one of these isn’t automatically disqualifying, but skipping all of them is how buyers end up with a car worth thousands less than what they paid for it.
Decision Framework: What to Do With What You Find
Not every red flag means walk away, and not every clean report means proceed blindly. Here’s how to weigh what you turn up:
- Clean NMVTIS record, clean paid report, no physical red flags found: Proceed to a standard pre-purchase inspection by an independent mechanic before finalizing anything.
- Salvage or rebuilt title, but the underlying damage was cosmetic (hail damage, theft-recovery with no structural harm): This can still be a genuinely fair deal. Negotiate the price down to reflect the branded title, and insist on an independent mechanical inspection before you commit.
- Any confirmed flood history, unrepaired frame damage, or an odometer discrepancy that doesn’t have a documented explanation: Walk away, unless the asking price already reflects a total loss essentially and you understand exactly what you’re taking on.
- Lien still listed on the title: Do not hand over payment until the seller clears it, or until your bank or a title company facilitates a lien-payoff process as part of the transaction. This step alone prevents one of the most common private-sale disputes.
Common Mistakes Buyers Make When Checking a Used Car’s History
- Trusting a single free lookup and stopping there. Free tools are a good first filter, not a complete answer, especially on a car you’re about to spend five figures on.
- Skipping the physical inspection because the report came back clean. Reports reflect what was reported — not everything that happened.
- Not checking for a lien until after the sale. By then, the leverage to walk away is gone.
- Assuming a dealership always discloses known title brands. Most states require it, but enforcement varies, and “known” can be interpreted loosely. Run your own check regardless of where you’re buying.
- Buying the report after negotiating, instead of before. Pull the report first — it’s often your strongest negotiating tool if it turns up anything the seller didn’t mention.
Where This Fits Into Your Overall Used-Car Buying Process
Checking a used car’s history isn’t a standalone task — it’s one step in a sequence, and doing the steps in the right order saves both time and money.
- Shortlist the vehicle based on price, mileage, and general condition from listing photos.
- Run the free NMVTIS check first, before you invest any more time. If it comes back with a salvage or flood brand you weren’t told about, you’ve saved yourself a wasted trip to see the car in person.
- Contact the seller and ask directly about accident history, service records, and the reason for selling. How they answer — and whether the answer matches what NMVTIS showed you — tells you a lot before you even see the car.
- See the car in person and run through the physical inspection checklist above.
- Pull a full paid report if the car has cleared every step so far and you’re seriously considering it.
- Get an independent mechanic’s pre-purchase inspection — a history report and a visual walk-around tell you about the past; a mechanic’s inspection tells you what’s likely to break next.
- Negotiate or walk away based on everything you’ve gathered, using the decision framework above.
Buyers who reverse this order — falling in love with a car in person first, then treating the history check as a formality — are the ones most likely to talk themselves past a red flag they would have caught with a clear head.
How Much Should You Actually Budget for This Process?
A realistic budget for fully vetting one used car before purchase looks like this:
- NMVTIS provider lookup: $2–$5
- Full paid vehicle history report (if needed): $25–$45
- Independent mechanic’s pre-purchase inspection: $100–$200
That’s roughly $130–$250 total to thoroughly check a used car’s history and mechanical condition before you commit to a purchase that will likely run into five figures. Compared to the cost of an undisclosed salvage title, a flood-damaged electrical system, or a transmission that fails two months after purchase, it’s one of the best-value steps in the entire car-buying process.
Frequently Asked Questions
How much does it cost to check a used car’s history?
An NMVTIS-based lookup through an approved provider typically runs $2 to $5. A full paid report from Carfax or AutoCheck runs $25 to $45 for a single report, with cheaper multi-report packages available if you’re comparing more than one vehicle.
Is a free VIN check good enough on its own?
A free NMVTIS check catches title brands and odometer readings, which covers the most serious red flags on its own. Whether that’s “enough” depends on the vehicle’s price point and what the free check turns up. [See our full free vs. paid comparison] to decide which situations call for spending more.
Can a car have a clean Carfax and still have been in an accident?
Yes, and this catches a lot of buyers by surprise. Reports only include incidents that were reported to an insurer or a participating repair shop. A clean report meaningfully lowers your risk, but it doesn’t eliminate it entirely — which is exactly why the physical inspection step in this guide still matters even after a clean report.
What’s the single most important check before buying a used car?
If you can only do one thing, run an NMVTIS-based title check for salvage, flood, or rollback flags, then get an independent mechanic’s pre-purchase inspection. Everything else in this guide adds confidence on top of those two, but those two catch the actual deal-breakers.
Do I still need to check the VIN if I’m buying from a dealership rather than a private seller?
Yes. Dealerships are required to disclose known title brands in most states, but that requirement has real-world gaps, and “known to the dealer” isn’t always the same as “disclosed to you.” Run your own independent check regardless of where you’re buying.
How long does it take to fully check a used car’s history?
Budget about 30 minutes total: 5 minutes for an NMVTIS lookup, 10 minutes to review a paid report if you decide to buy one, and 15–20 minutes for the physical walk-around inspection described above.
The Bottom Line
Learning how to check a used car’s history properly takes about 30 minutes and costs less than a tank of gas. Skipping it can cost you thousands of dollars in repairs, lost resale value, or a car you never should have bought in the first place. Start with a free NMVTIS lookup, upgrade to a paid report if the vehicle clears that first screen, walk the car yourself using the checks above, and don’t sign anything — or hand over a deposit — until every red flag on this page has been ruled out.